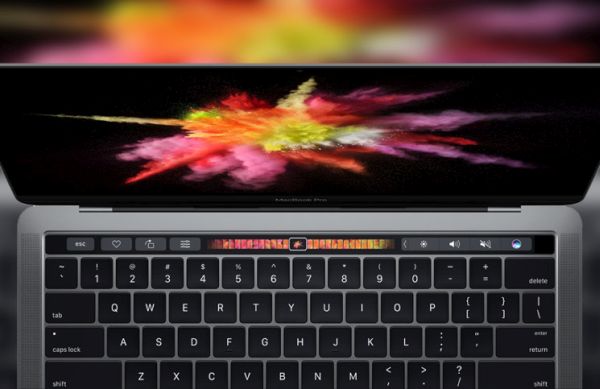
Even though there aren’t major changes with new MacBook Pro released in 2016 by Apple – a lot of users hurry to purchase this computer. Some customers like MacBook Pro touch bar while not being totally happy with only 16GB of memory and absence of built-in SD card reader. Others are sure that it’s enough to have the touch bar to enjoy the latest launch, especially when you are able to use numerous Mac desktop customization tools to make your Touch Bar even more special.
We’ll teach you how to customize MacBook Pro and make it more personal to you. The tips and tricks are simple. Anyone who loves changes will enjoy using the updated OLED panel. It’s must-do when you like exclusive options.
Just think about this. The recently presented MacBook Pro 2016 was able to outsell all Apple laptops in only 5 days. This is a great achievement for the famous ‘fruit’ company that presented several new gadgets this fall along with iPhone 7 and iPhone 7 Plus [both smartphone models can boast incredible 256GB of storage space].

Customize MacBook Pro Appearance
Search for flavours for Mac was never as easy as it happens with MBP that arrives with new Touch Bar. Users had to find and customize MacBook pro skins, search for flavours but they had no Touch Bar to change. This year you can improve the new OLED panel and interact with application to your full excitement and enjoyment.
Once you learn how to use your Touch Bar you can customize MacBook Pro appearance. Here is what you should do:
Step 1. So you need a new MacBook Pro released in 2016.
Step 2. To start getting new flavours for Mac, you should choose a program first.
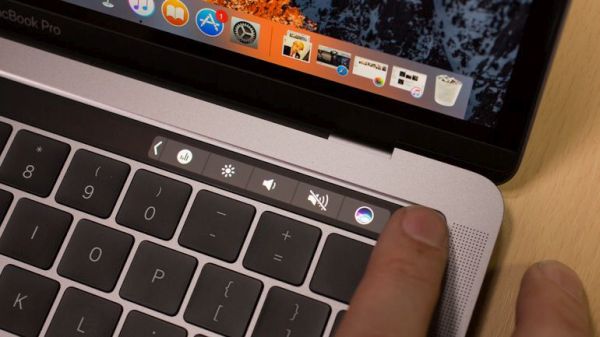
Step 3. Now you can use amazing Mac desktop customization tools. For example, let’s choose a new Control Strip by pressing on your desktop screen.
Step 4. Press on View in the application menu.
Step 5. Select the feature called ‘Customize Touch Bar’ that is also available through a drop-down menu.
Step 6. The panel has a special tool (you should select and drag it down to the display’s bottom).
Step 7. Once the tool is moved on your Touch Bar you can move it within the application section and change the appearance to your personal likes.
By the way, if you only got a new computer you should learn how to set up BacBook Pro (version 2016).
MacBook Pro Touch Bar Tools: How to Remove Them
Sometimes you get tired of the tools presented in your Touch Bar. Well, why won’t you remove them? This is so simple and you’ll enjoy how to customize MacBook Pro on-the-go and add new changes.
Step 1. Just like when you act while adding tools to your new Touch Bar you should choose the application to work with.
Step 2. Press on desktop display to add changes to the Control Strip.
Step 3. Look at the program’s menu options to select View.
Step 4. You should choose one option from the new menu. Go with Customize Touch Bar feature.
Step 5. Once the customization panel becomes visible you should touch-hold your Touch Bar tool and wait for it to enter wiggle mode.
Step 6. Now drag the tools you wish to remove to the trash can. You’ll see the right icon to the left of MBP Touch Bar. Do this for each tool, one by one.
Step 7. Once you are done you should click on Done. This way you’ll confirm your decision.
A lot of Mac users also have an iPhone. Learn how to fix iOS 10 problems with bubble effect.
In case you only wish to reorganize your tolls you should continue with the guide below:
Step 1. Ok, select the app to begin.
Step 2. Press on desktop screen and you’ll be able to change Control Strip.
Step 3. Select Views – Customize Touch Bar to proceed.
Step 4. Click and hold the tool which you wish to move to a new location and wait till you see the wiggle mode. Now you are able to drag and reorganize it within the program section.
Step 5. Don’t forget to confirm your new location by clicking on ‘Done’ option.
Isn’t it simple?
It’s always great to know how to get refund from iTunes directly on your Mac.