Are you a big fan of Apple MacBook Pro 15 model? Do you own the MacBook pro 2016 version? There are a lot of ‘fruit’ customers who prefer using several computeres as well as mobile devices. iPhone, iPad, Mac are often owned in more than one model per user. Well, if you do have the Touch Bar on your machine and prefer using Apple Notes instead of other text programs you might wish to learn some interesting MacBook Pro tips.
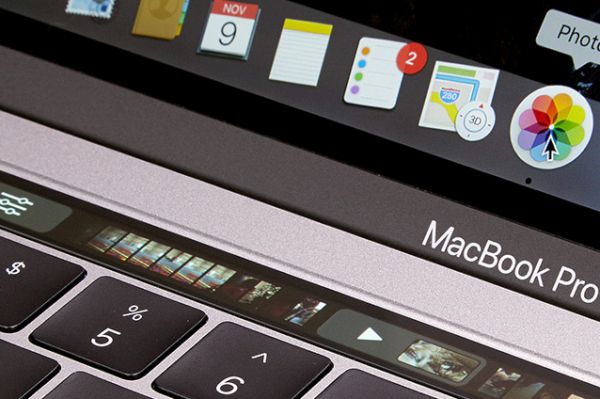
It is actually useful to know your MacBook Pro specs as well as some popular tricks. This way you can simplify your work with various application, spend less time on your tasks and enjoy your everyday life. One great feature brought by Apple this year is Touch Bar on MacBook Pro. It lets you perform various actions much quicker with a single or a couple of clicks. For example, it is possible to use Touch ID to unlock Notes with Touch Bar, delete your notes or even add some customizations on-the-go.
We won’t describe all the new MacBook Pro specs as this time we plan to devote the post to Touch Bar tips and tricks only. This spec is a great addition to Apple computers. You just need to explore some possibilities. By the way, if you don’t see sidebar in iTunes learn how to fix iTunes 12.4 problems.
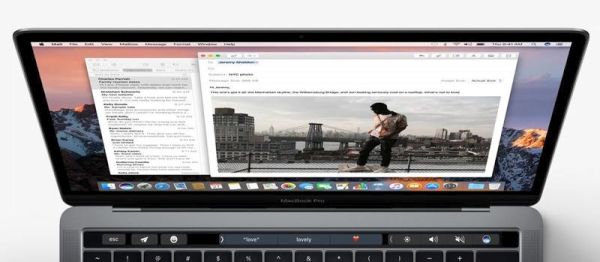
How to Use Touch Bar with Apple Notes on Mac
You can work with Notes via Touch Bar. Just follow the step-by-step instruction below and you’ll master this must-have trick.
Step 1. You should launch Apple Notes on MacBook Pro 2016.
Step 2. Click on the new note icon and you’ll create a new Note on your computer.
Step 3. If you need to format an existing note you should click on Format icon (it reminds of capital and lowercase letters A). Then click on Title and you’ll work with H2 format option. Click on Heading and you’ll work with H3 format. If you wish to format body text you need to click on Body. Use Bullets icon when you need to create bullets list. If you prefer working with dashes list you should click on the Dash icon. For numbered list you should press on Numbers icon. If you need to close tools that format your text just hit the X.
Step 4. It is easy to create checklists via Checklist icon.
If you wish to connect 5K display to your Mac computer you’ll love the changes!
Here are some Touch Bar MacBook Pro tricks for Notes app:
*Use Indent when you wish to indent left / right margins
*Italics helps you italicizing words and sentences in Notes
*Place your cursor at the end of the sentence and click on the desired format to change text format with ease
*Bold icon helps you make words or whole sentences bold
*Underline icon can be used to underline a word or sentence
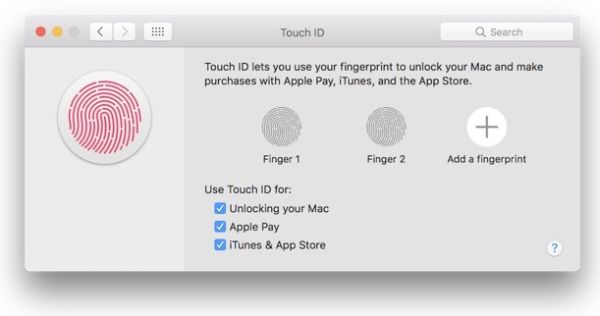
Unlock Apple Notes with Touch ID
Step 1. Launch the application.
Step 2. Select the locked note you wish to unlock.
Step 3. Place your finger on Touch ID (the one you have registered for your sensor) and you’ll unlock all your notes at once.
Step 4. If you want to lock your notes press on Lock icon (you can see it at the top part of Notes application).
Fix problems with launchpad apps missing on Mac OS Sierra machines.
Delete Notes Using Touch Bar
Step 1. Choose the note you prefer to remove.
Step 2. Click on Trash icon (in Touch Bar).
Step 3. If you want to delete folders, select a folder instead of a note and press on the Trash icon.
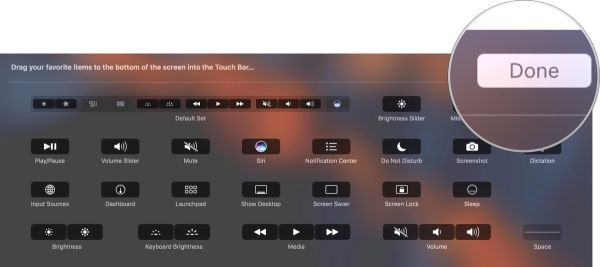
MacBook Pro Tips for Touch Bar and Notes Customization
Step 1. You can launch Notes program – press on View in menu – click on Customize Touch Bar option. You can drag any tool from the customization panel and drop it into your Touch Bar.
Step 2. When you want to remove a tool from Touch Bar you should move your cursor down and select the tools.
Step 3. Remember to click on Done option when you are happy with the results.
Step 4. To customize your formatting tools simply choose a note in Notes application.
Step 5. Press on View option and choose the feature Customize Touch Bar. Now you can work with tools and customize them.