It’s time to learn some interesting MacBook Pro tricks and secrets for its most popular feature called Touch Bar. Are you using Touch Bar zoom option or not? If you haven’t had time to discover how to enable, disable and use this awesome program you can explore your knowledge right now.
We’ll tell you how to enable Touch Bar Zoom, what you can do with its help and how to turn it off when you no longer need it on your computer. The feature enhances your experience but it arrives being disabled by default. In other words, you are not able to use it unless you first turn it on. You can also easily transfer videos from Mac to iPad.

Touch Bar Features
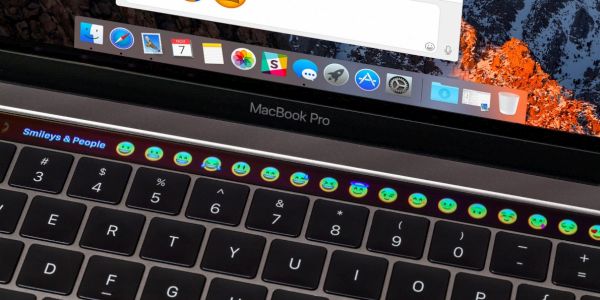
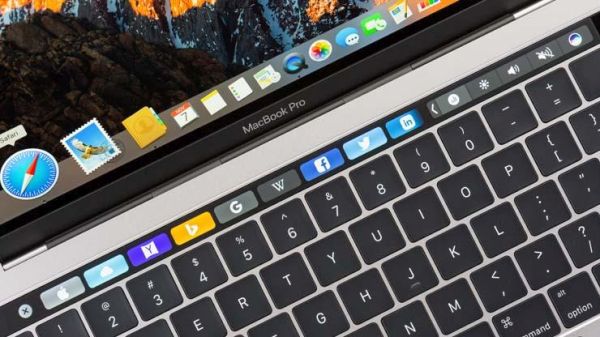
The new models of MacBook Pro arrive with a lot of cool additions and extras compared to their predecessors. Touch Bar is a nice feature for your screen. It also comes with some features carefully packed by Apple. Touch Bar Zoom is a sweet little option found in Accessibility suit. It adds some cools things to do with your MacBook.
When you decide to turn on this option you’ll see a larger Touch Bar available. It’s perfect for users whose eyes get quickly tired because of small letters or who have low vision. Those who experience no issues with vision can still take advantages of the zooming addition.
How to Use Touch Bar Zoom on MacBook Pro
Firstly, you need to enable MacBook Pro features you wish to enjoy. Secondly, you have to learn what exactly you can do.
Enable Touch Bar Zoom
Step 1. Use your computer. You should find System Preferences in the Dock and press on its icon.
Step 2. Access the Accessibility settings by click on its icon option or triple-clicking the Touch ID option. There is an alternative method: click the Option + Command + F5 on computer keyboard and the settings will be automatically launched.
Step 3. Look under your Vision menu. Click on Zoom.
Step 4. You should now check the option Enable Touch Bar zoom.
Step 5. Now work with the zooming and enjoy this feature.
Disable Touch Bar Zoom Feature
Step 1. Go to System Preferences – Accessibility.
Step 2. Press on Zoom feature under Vision section.
Step 3. Uncheck the feature called Enable Touch Bar zoom and it will be turned off.
MacBook Pro Tips: How to Zoom with Touch Bar
Once you turn on the feature you should learn how to zoom with Touch Bar. This is simple so you should face no problems.
The virtual Touch Bar can be found at the lower part of the display. It appears when you touch something with the regular Touch Bar. You can now enjoy the zoom view. Just touch – drag using your finger on the Touch Bar.
Use the Command (just click-hold it) along with two-finger pinching open / closed on the regular TB on your keyboard to zoom in and out.
Active various items from the physical TB by clicking and holding that item while also tapping somewhere on your virtual Touch Bar.

This is great when you can add some lifehacks to your Mac everyday experience, isn’t it? Of course, there could be situations when you might find no Touch Bar zoom while the option is enabled. There is a trick you can use to fix this issue:
Step 1. Launch System Preferences on Mac.
Step 2. Select Accessibility section.
Step 3. Choose VoiceOver option.
Step 4. Now just turn off VoiceOver and Touch Bar should be available with zoom in.